
Identity
Compare faces, expression, pose, clothing, and the number of people. Regenerate or choose a focused edit if a recognizable subject drifts.
Two real ways to begin
Start with an original idea, or transform a photo into an illustrated scene while asking the tool to preserve the people, pose, and composition that matter.
This is an independent creative workflow. It is not an official Studio Ghibli product, does not use a claimed “Ghibli model,” and cannot guarantee a particular artist’s style.
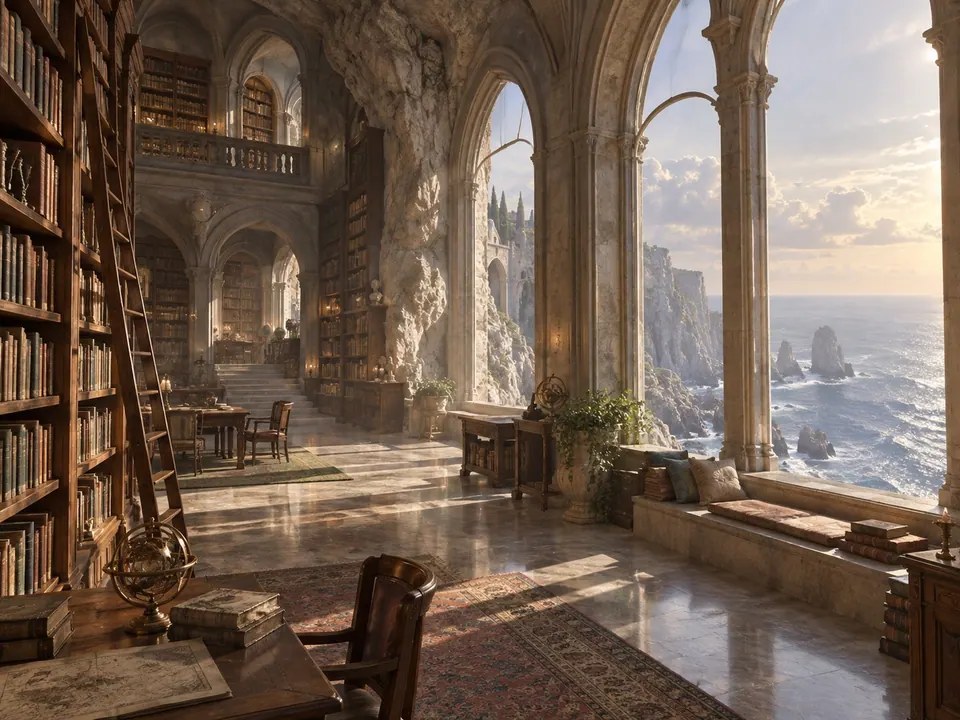

01 · IDEA → GENERATOR
The prepared prompt below names the place, moment, palette, material, and composition. Edit any part of it, choose a ratio, then generate in the same live workspace used by the main Image Generator.
Good directions describe an original subject and visible choices. They do not need a fictional checkpoint name, “8K” filler, or a claim that the system was trained on a particular studio’s films.

Image preview
ExamplePrompt inspiration
A small wooden cabin in fresh snow at blue hour, warm light through the windows, pine forest, wide cinematic composition
VISUAL DIRECTION
Warm light, painted texture, quiet scale, and a readable silhouette are useful instructions. The name of a studio is not a substitute for deciding what should be in the frame.
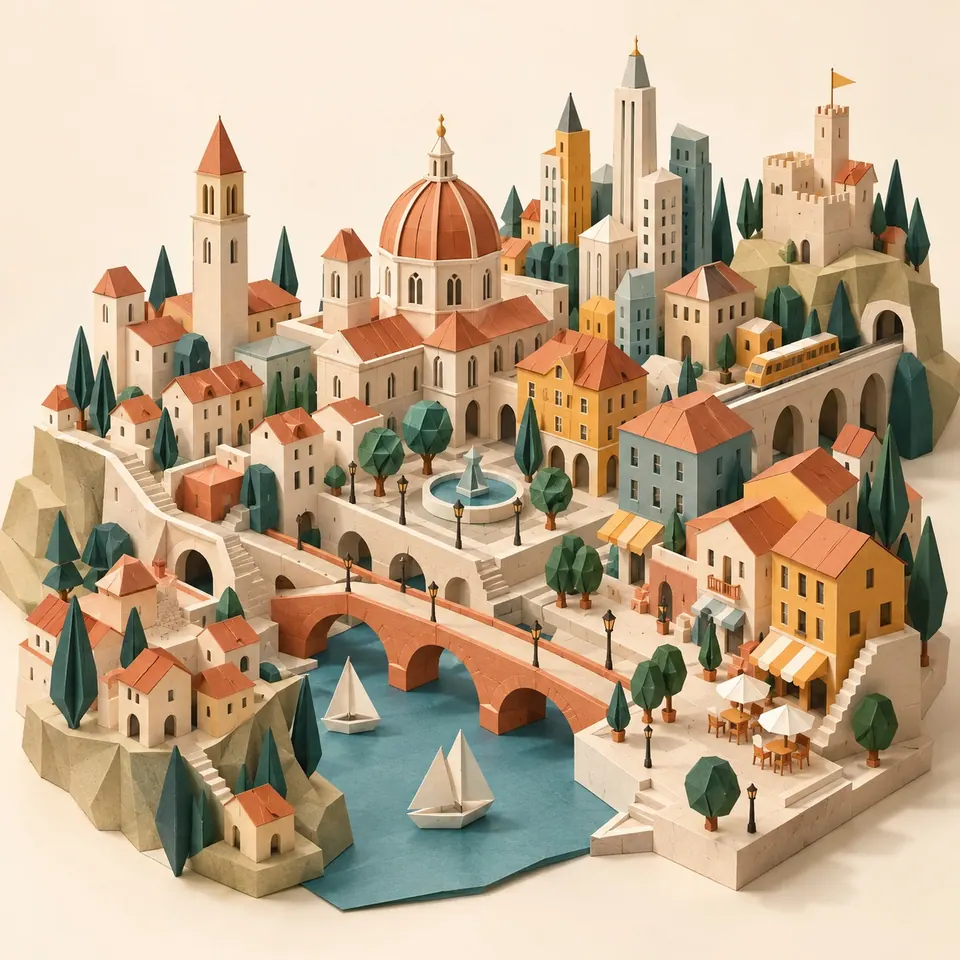
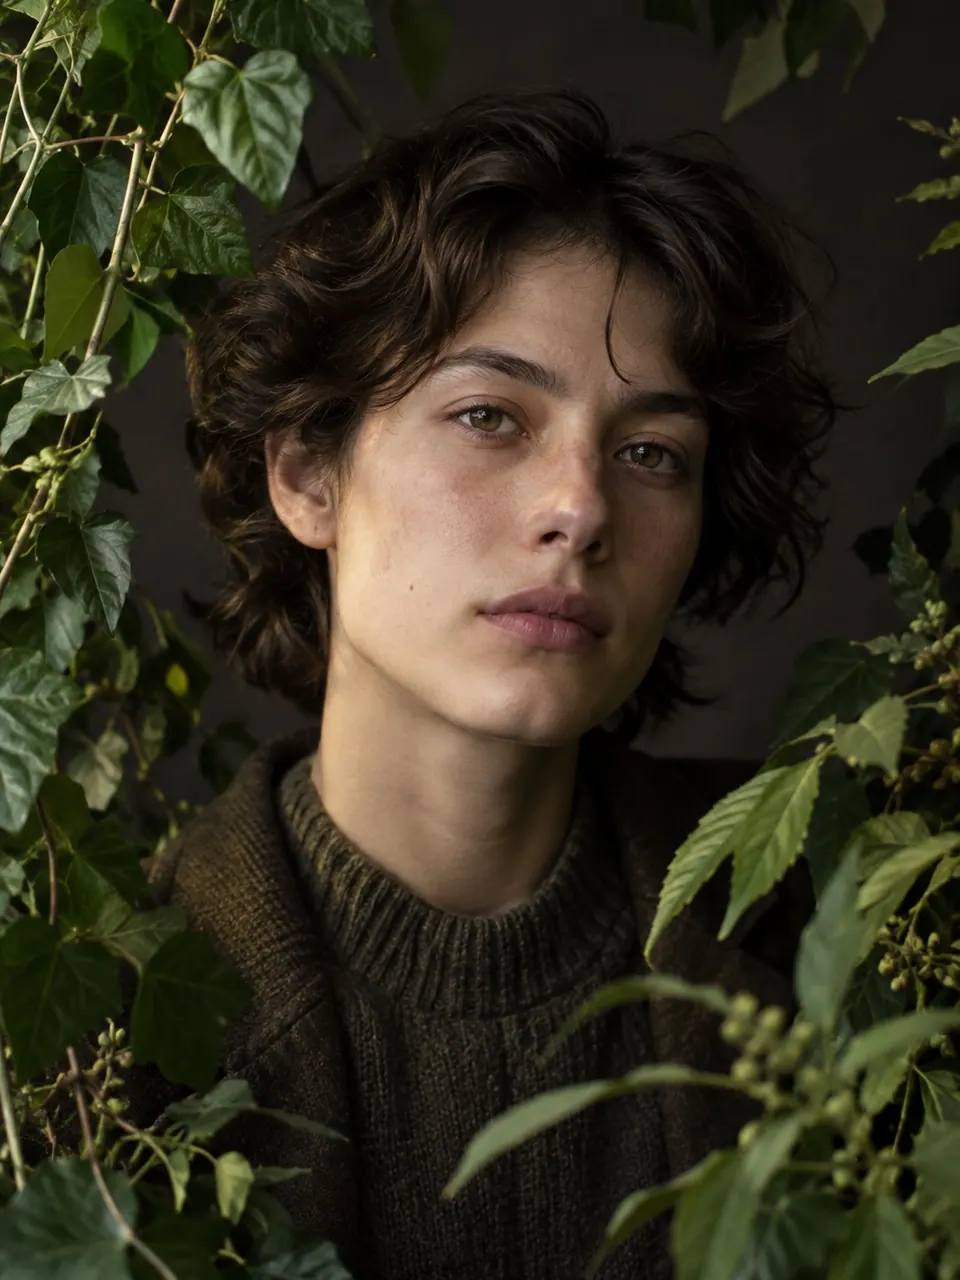
02 · PHOTO → TRANSFORMATION
Upload a photo, review the prepared transformation instruction, and run it in the live Image to Image workspace. Sign-in is required for the transformation request; the source, retry, comparison, download, and continue-editing states are the same production flow used by the dedicated tool.
Image-to-image may change faces, hands, text, small objects, or layout. Use only images you have permission to upload, compare the result with the source, and do not treat the output as an exact preservation workflow.
Preview
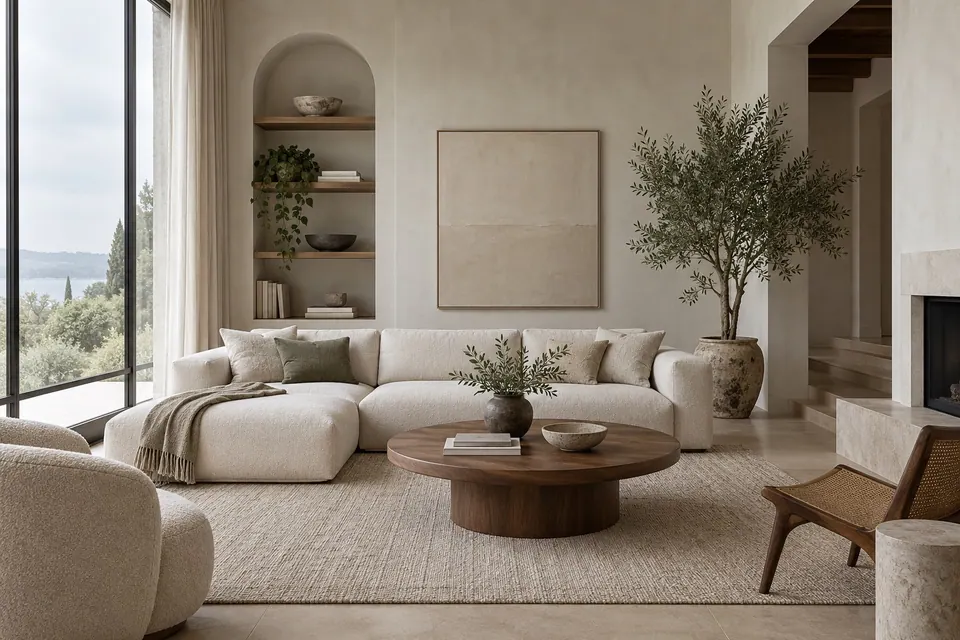 Before
 After
Same room. New light.
CHECK THE RESULT
Compare faces, expression, pose, clothing, and the number of people. Regenerate or choose a focused edit if a recognizable subject drifts.
Check the camera angle, horizon, subject placement, and important objects. A broad transformation can reinterpret the whole frame.
Inspect hands, signage, logos, jewelry, product geometry, and background characters at full size before download or publication.
Use source images you may upload. Avoid implying endorsement by a studio or artist, and review third-party rights before commercial publication.